Installation:
Using Chrome browser, go to Chrome web store, install and enable Notion to PDF extension.
Quick Start
Step 1.
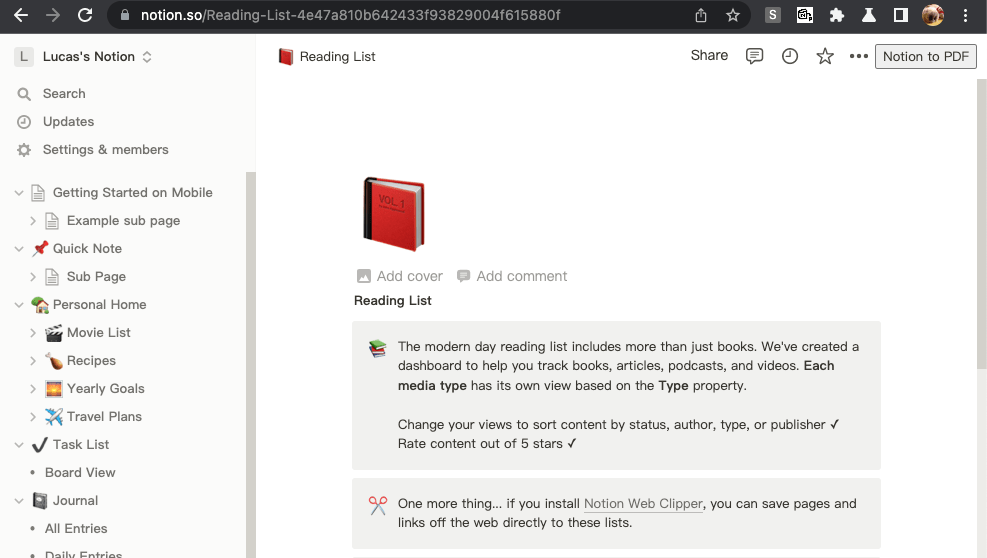
Using Chrome browser with Notion to PDF extension installed, go to the Notion page where you need to export PDF.
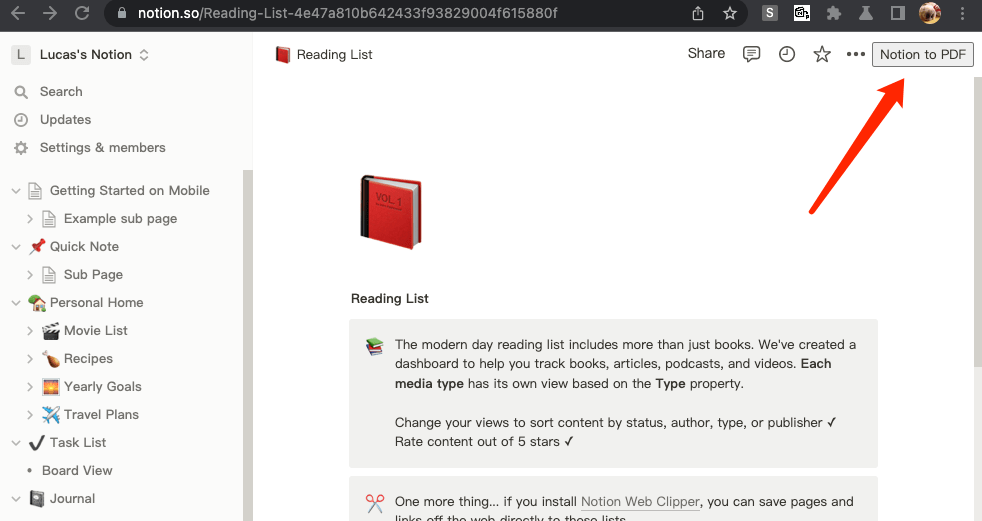
Step 2.
Click the Notion to PDF button in the upper right corner of the page, it will start to export PDF, and it will download automatically when finished.
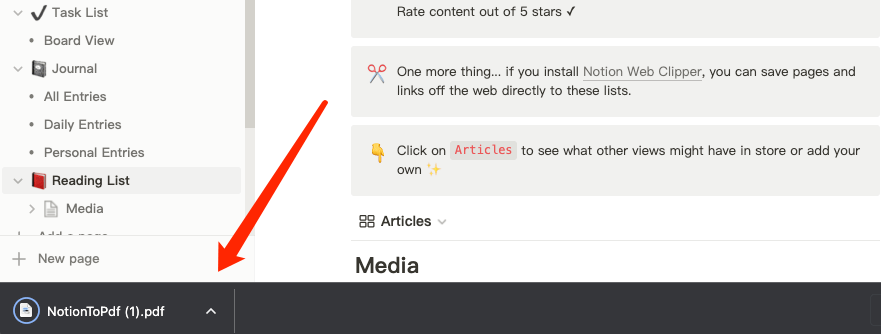
Step 3.
Wait for a moment, the PDF will start downloading automatically.
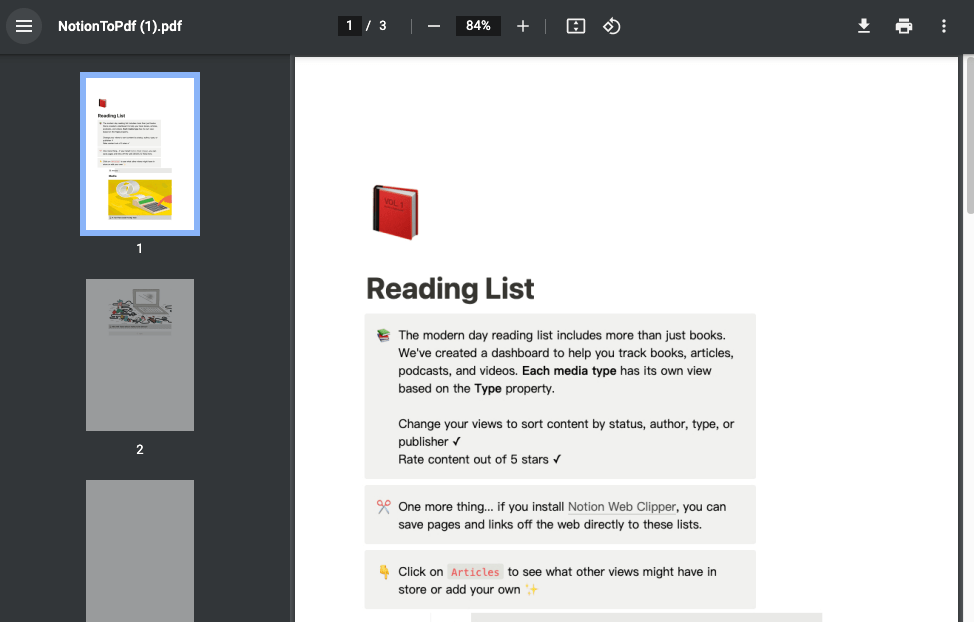
Step 4.
Click on the downloaded PDF, the job is done, it is so simple!
Adjust Margins
Note:
Adjusting margins is a pro version feature that requires a membership purchase to use.
Margin settings need to be set separately for each paper size and page orientation, and the current settings only apply to the current paper and page orientation.
Step 1.
Select the paper size and page orientation you want to adjust.
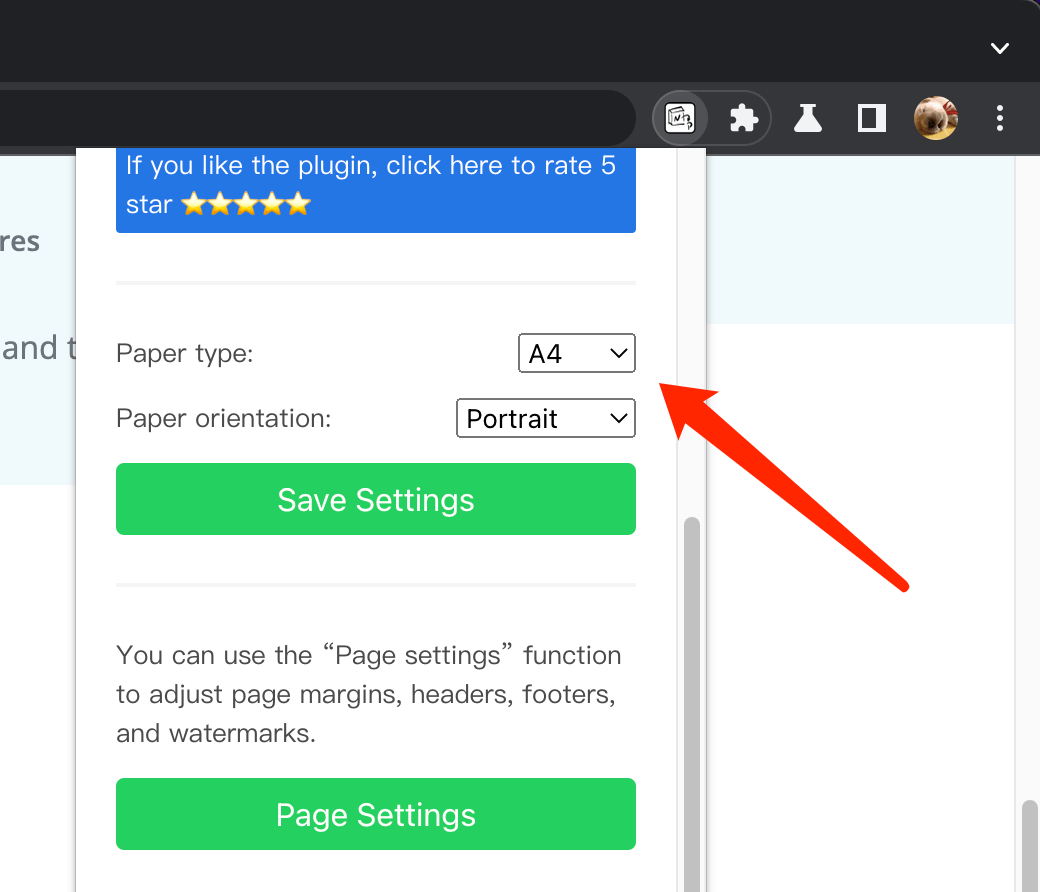
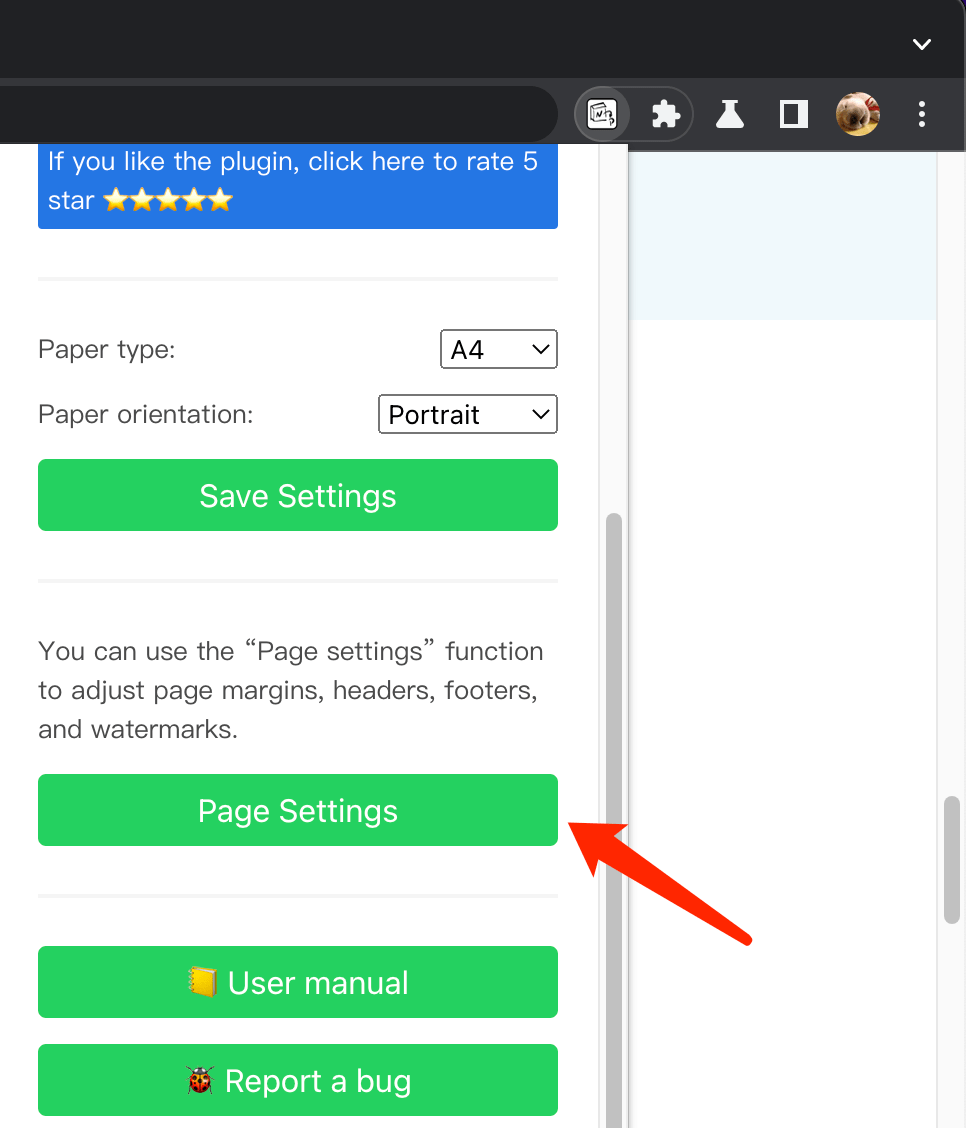
Step 2.
Click the Page setting button to open the Page settings page.
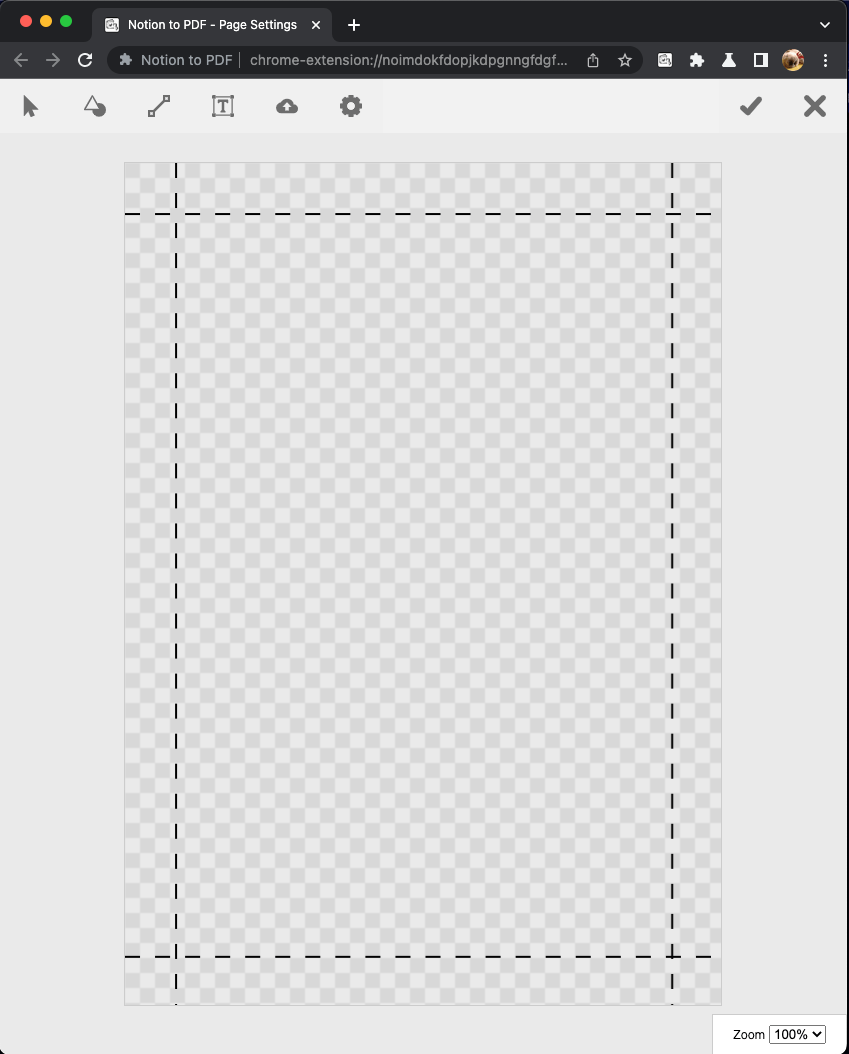
Step 3.
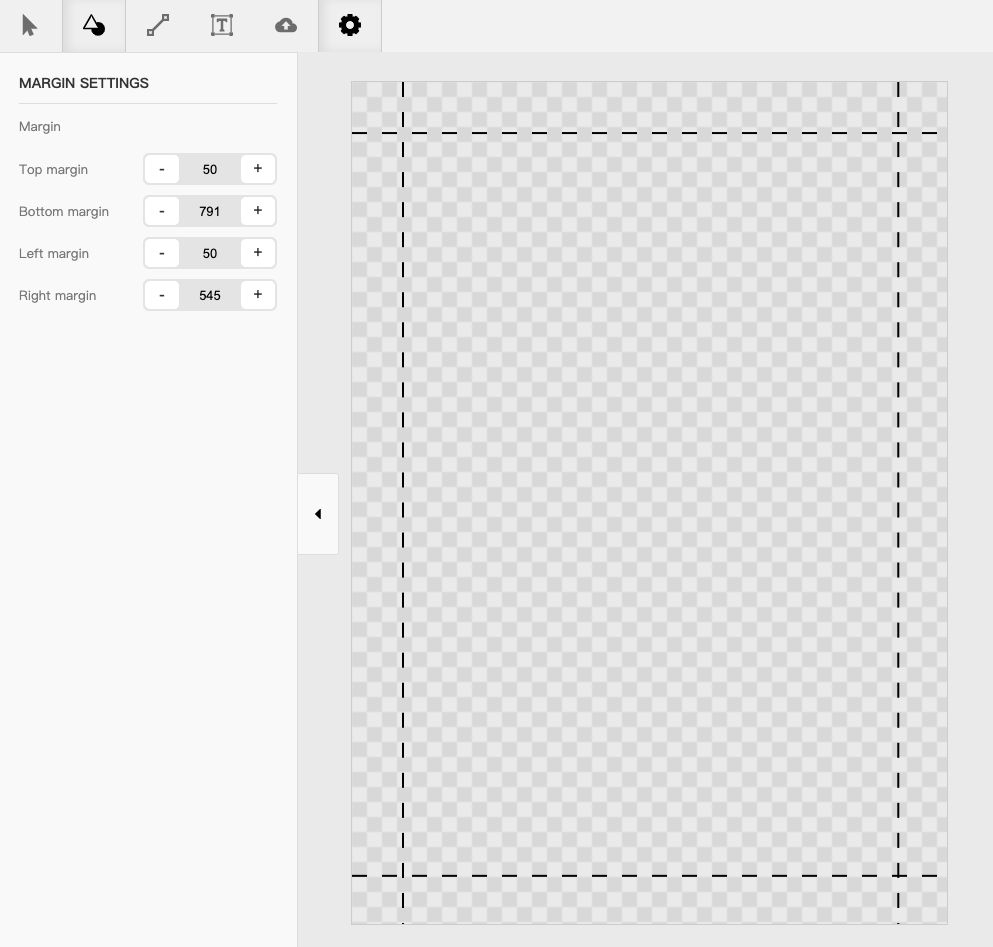
You will see four dashed lines on the page, representing the top, bottom, left, and right margins.
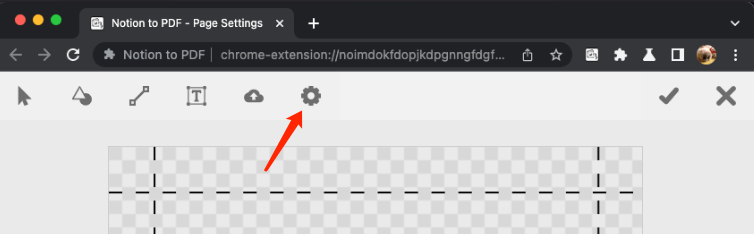
Step 4.
Click the Margin setting button to adjust the top, bottom, left, and right margins separately.
Step 5.
As you adjust, you will see the changes on the page canvas, ensuring that the PDF content stays within the four lines.
Step 6.
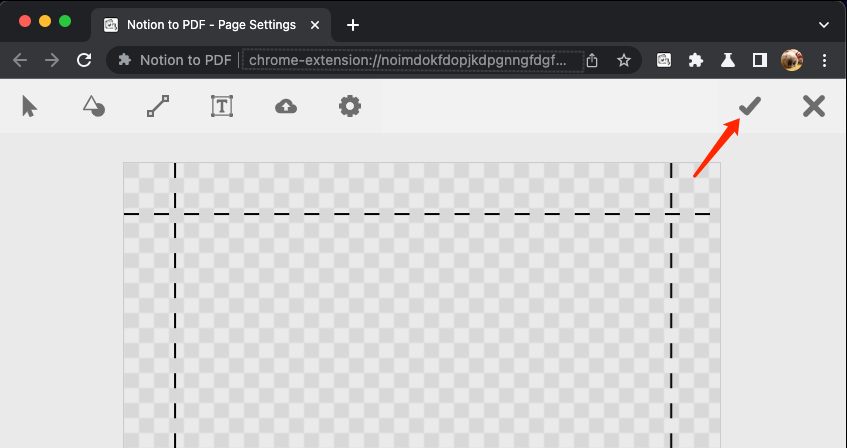
When you're done adjusting, click the Save button to apply the margins when exporting.
Adjust Header and Footer
Note:
1. Adjusting headers and footers is a pro version feature that requires a membership purchase to use.
2. Header and footer settings need to be set separately for each paper size and page orientation, and the current settings only apply to the current paper and page orientation.
Step 1.
Select the paper size and page orientation you want to adjust.
Step 2.
Click the Page setting button to open the Page settings page.
Step 3.
You will see four dashed lines on the page, representing the top, bottom, left, and right margins.
Step 4.
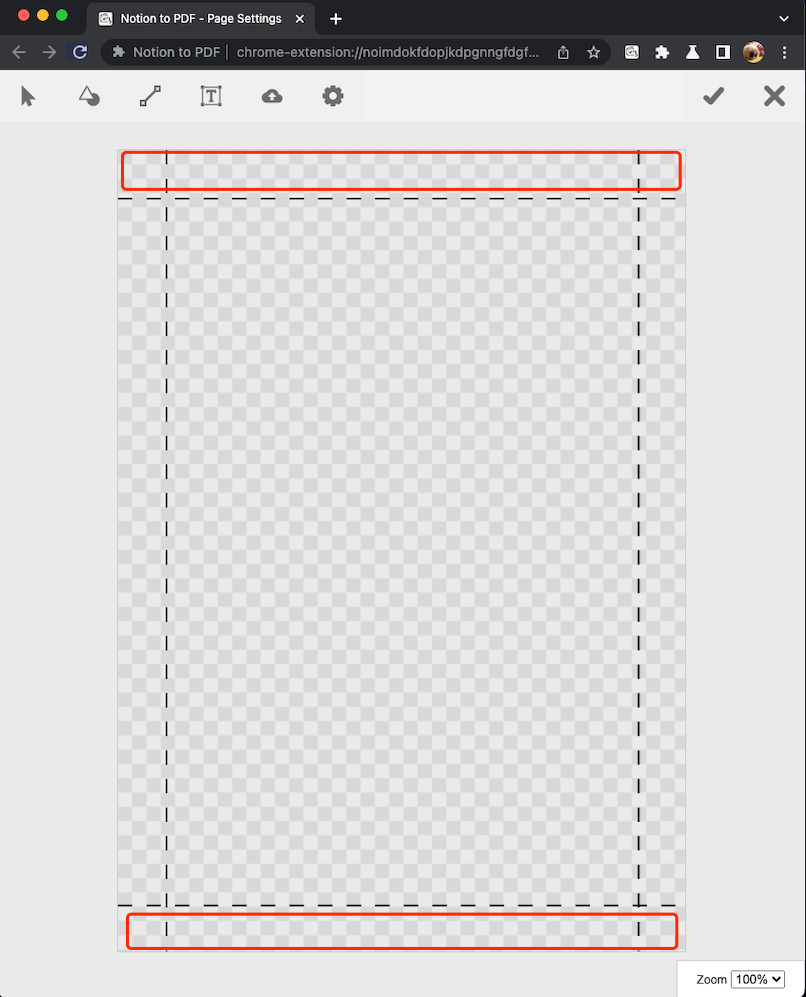
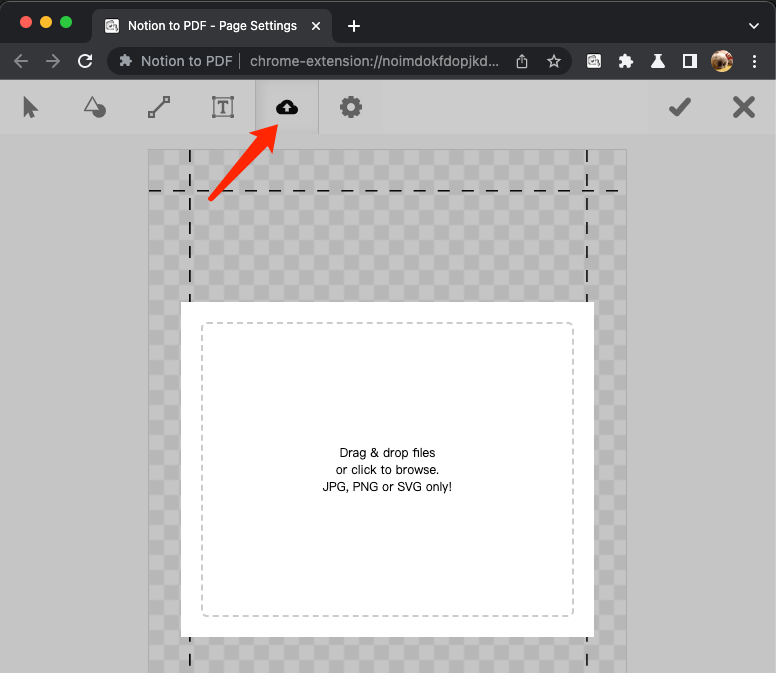
You can use the following tools to draw the desired header or footer. Adjust header content above the top margin and adjust footer content below the bottom margin.
If you need to adjust margins, please refer to this link. Adjust margins
Text tool
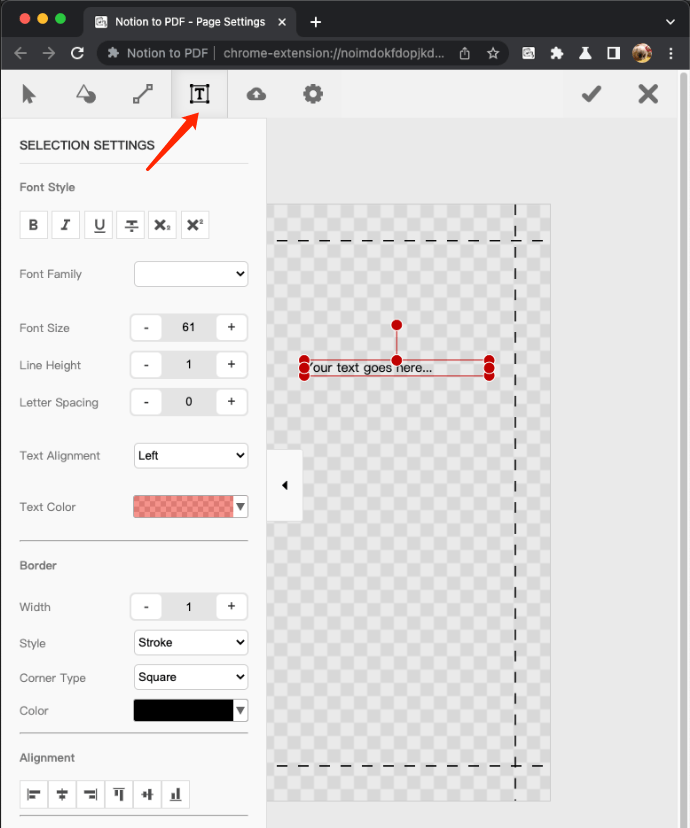
Line tool

Shape tool
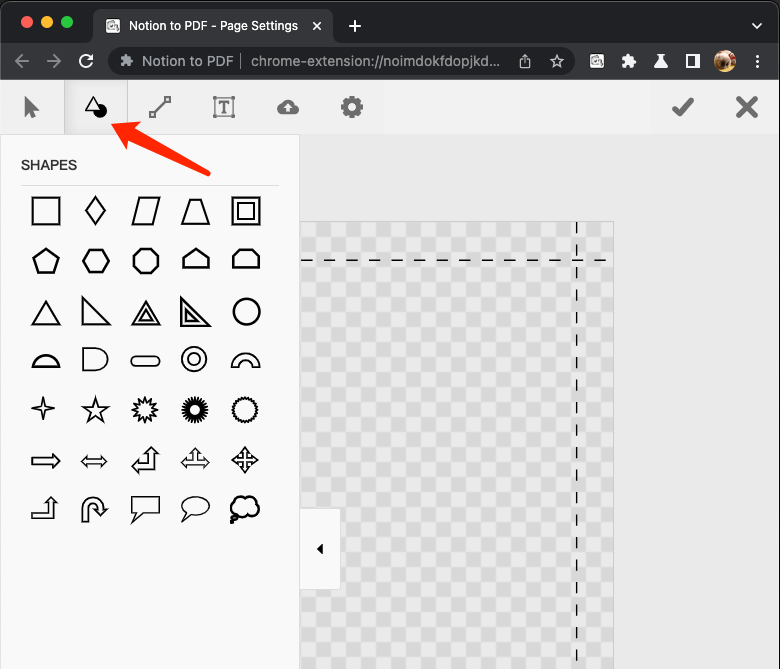
Image tool
Step 5.
When you're done adjusting, click the Save button to apply the changes when exporting.
Add Watermark
Note:
1. Adding a watermark is a pro version feature that requires a membership purchase to use.
2. Watermark settings need to be set separately for each paper size and page orientation, and the current settings only apply to the current paper and page orientation.
Step 1.
Select the paper size and page orientation you want to adjust.
Step 2.
Click the Page setting button to open the Page settings page.
Step 3.
You will see four dashed lines on the page, representing the top, bottom, left, and right margins.
Step 4.
You can use the following tools to draw the desired watermark. Note that a watermark with transparency set to 0 will cover the original content.
If you need to adjust margins, please refer to this link. Adjust margins
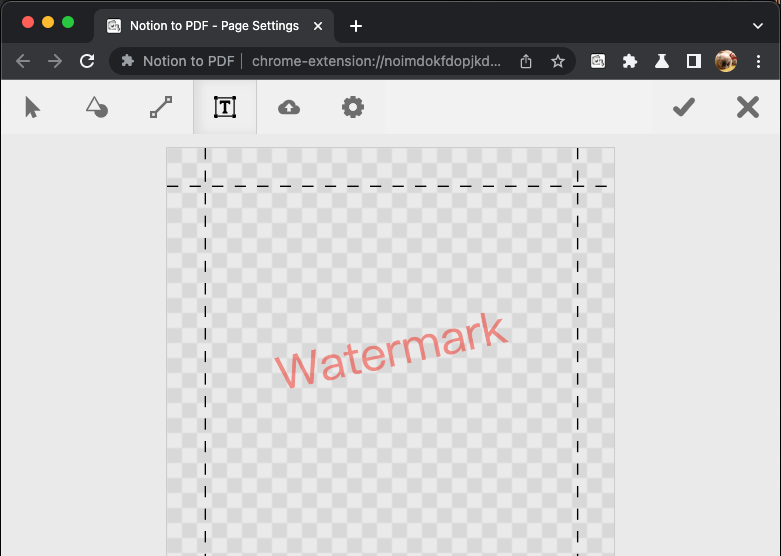
Text tool
Line tool
Shape tool
Image tool
Step 5.
When you're done adjusting, click the Save button to apply the changes when exporting.